Thursday, October 31, 2013

Setting the Table: A Collection of 3 Leveled Adapted Books


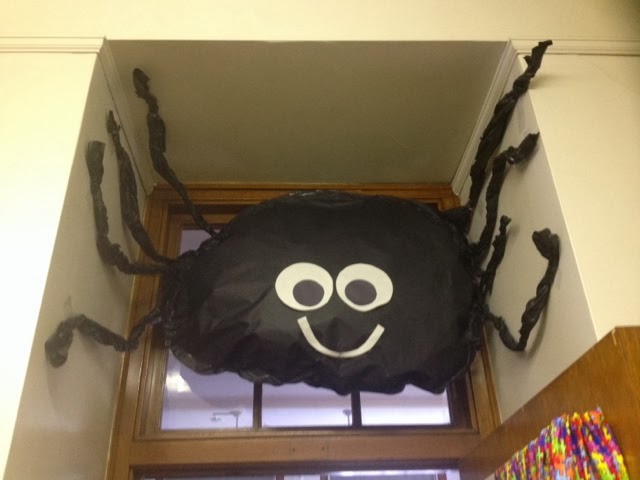
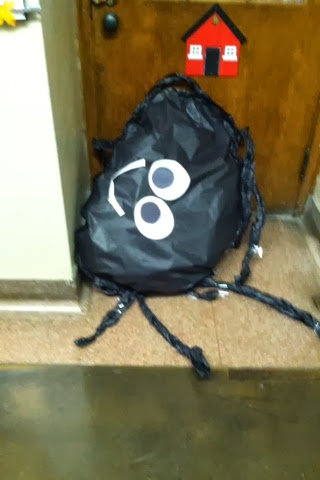
This Halloween marked my first within the realm of special education and I felt a little unprepared for the whole situation. There is a pile of stuff I can't wait to do next year but, all in all, [almost all of the] kiddos loved wearing their costumes the entire day and really, what matters more? Holidays in the classroom shouldn't be about planning to the T with task analyses and crafts. Those things have their place but there's little more memorable than Batman, Superman, Thomas the Train, a witch, a ghost, and Jeff Gordon "hanging out" in my classroom.

Check out a few cute crafts we did during the month of spookiness:
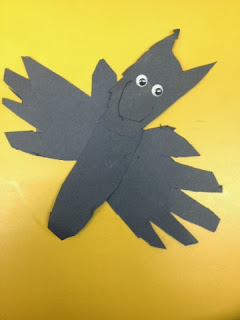
Handprint Bat Craft


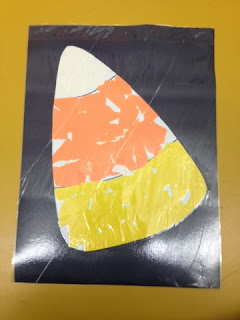
Torn-Paper Candy Corn

And with that, I now feel privileged to say:
The Halloween madness is over! The Halloween madness is over!


....Now, onto Thanksgiving.
(At least we have another 30 days of autumn-scented candles.)

To prep for the next big event (Thanksgiving lunch), I crafted up THREE adapted books tonight on a very important life skill: setting the table. (Don't worry, I'm not always this ahead-of-the-game.)


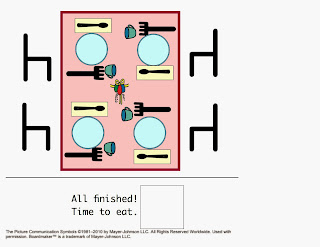
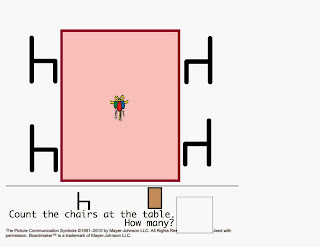
I leveled the books (easy, intermediate, and challenging) to meet the diverse needs of my learners. One uses repetitive language (easy), another uses ordinal words (intermediate), and the third uses prepositions (difficult).

Also, there's a bonus: all three books are available for sale as one bundle for a discounted price in my TpT Store! You read correctly, grab three adapted books (over 30 pages in the pack!) in my Setting the Table Adapted Book Bundle!

Enjoy!


Happy Teaching!
Kortnie C.


Tuesday, October 22, 2013

Fine Motor Number Word Clip-Ons

A few weeks ago, I posted about explicitly teaching students to read environmental print; so far, that's been a big success. To check out my FREE packet of environmental print cards, click here!


On a related note, we've been working a bit harder lately on teaching some of our kiddos more sight words, including number words. To transfer this skill to an independent level, I created Number Word Clip-Ons!  [If you can't tell.. clip-ons are a new favorite of mine. I love the ever-trusty file folders but my time has been severely limited lately. Clip-ons are as easy as print, laminate, cut, and clip!]


I've been using Discrete Trial Instruction (DTI) to teach one kiddo in particular the number words for one through five. At first, he sought immediate feedback when completing the corresponding clip-ons but today he had his "ah-ha" moment when discriminating between the ever-so-tricky "four" and "five." A little extra exposure to the task in a new context has really helped shape this skill. I'm sure he will be progressing onto six through ten in no time!

Of course I would catch myself smiling about this big win, even hours later while typing this post. I hope these work as well for your kiddos as they do for mine!

Grab your copy of this resource from my TpT Store.

Happy Teaching!
Kortnie C.

P.S. This resource would pair well with any of my other sight word packets, available here!

Friday, October 11, 2013

Simple DIY Spider Classroom Decor

I realize I'm a bit late on this but I've been very excited for the autumn season. As of late, we've had a new guest.. err.. uhh... hangin' out in the hall outside of our classroom.

Meet our new spidey friend!

Now, I'm unable to take credit for the idea (that was all my co-worker) but we fixed this guy up in (almost) no time! We've had a huge response with many compliments since he's taken residence above the door and I'm happy to say he was relatively easy to make. Read on to learn more!


One of my favorite parts about his decor is that we were able to use the items we had on hand. [Did you notice my "Where are we?" sign posted outside the classroom? Grab that resource here in my TpT store!]

Materials:

  • Large black paper
  • White construction paper
  • Stapler or Glue (depending on patience/time/etc.)
  • Writing Utensil
  • Scissors
Instructions:
  1. Measure out two long sheets of large black paper. This will be the spider's body and legs.
  2. Sketch a big circle for his body. Place the two pieces of black paper back-to-back and cut the circle.
  3. Staple around 2/3 of the circle (approximately 1" away from the edge). This creates a pocket that can be stuffed with paper or other filling.
  4. "Open" the pocket and fill. We "crumbled" our used scraps from the project as well as other soon-to-be-recycled paper. Newspaper or fiber fill would be an excellent resource, too, depending on what is around.
  5. Once filled to desired amount, finish stapling the edges of the circle.
  6. Measure out an additional long sheet of large black paper (the size of this will determine the length of the legs). Cut into 8 wide strips (ours were approximately 4-5") and twist.
  7. Staple the legs onto the sides of the spider.
  8. Add a face using white or other colored construction paper. We simply traced two large circles and two small for his eyes, as well as a "crescent-type" shape for his mouth.


So here's the inevitable question... "How did you get him up there?" And, even more so, "Does he ever fall down?" My response is quick and concise. He is fasted to the ceiling with the resource we had on hand: tape. A lot of tape. Does he ever fall down? Well, no, but sometimes he gets sleepy and this happens:


Giving more thought to this (especially after taking into consideration that the kiddos... no... the WHOLE SCHOOL loves him), my game plan for the weekend is to find additional supports for hanging our new friend. Any suggestions?


Happy Teaching!
Kortnie C.

Monday, October 7, 2013

Mini-Pizza Shopping and Cooking Unit [Flash Freebie]

Today was our second CBI (Community Based Instruction) Trip of the year. So far, we're still practicing the basics: ordering from a menu, staying with the group, and finding items using a picture list.

My revelation for the day: I LOVE CBI.

Don't get me wrong, I understand the importance of academic skills but there is something special to me about teaching a kiddo skills essential for everyday life and independence. That's what CBI is all about.

In short, we visited a grocery store today to buy supplies for a snack recipe for tomorrow afternoon: Mini-Pizzas! [Don't worry: these are no-bake!] I made these this past summer with some of my Carpe Diem Academy kiddos and they loved the hands-on, tasty experience.


To build this unit, I created shopping lists, ingredient lists, and visual recipes for Fruit and Vegetable Mini-Pizzas.

I need a Monday night pick-me-up; just in case you're feeling the same way, grab this unit as a flash freebie in my Teachers Pay Teachers Store! It will only be free for a limited time so grab it quick!

Happy Teaching!
Kortnie C.